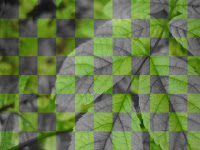
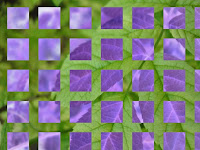
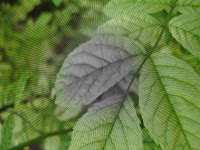
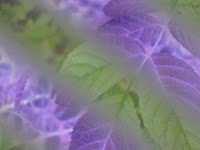
This continues the previous post and shows variations which can be achieved using different masks.


Steps
- Open the image; name it e.g. "original" layer
- Duplicate the "original" layer, name it "var1"
- Apply a "color" effect to var1 e.g. [Colors]-->[Invert] or [Colors]-->[Desaturate]
- Right-click "var1" layer choose "Add Layer Mask" (use white color for the mask)
- Click/activate the mask and apply one of the followings:
[Filters]-->[Render]-->[Pattern]-->[Checkerboard]
[Filters]-->[Render]-->[Pattern]-->[Grid]
[Filters]-->[Render]-->[Pattern]-->[Line Nova]
[Filters]-->[Render]-->[Pattern]-->[Sinus]
...
Note
GIMP 2.4.6


0 comments:
Post a Comment